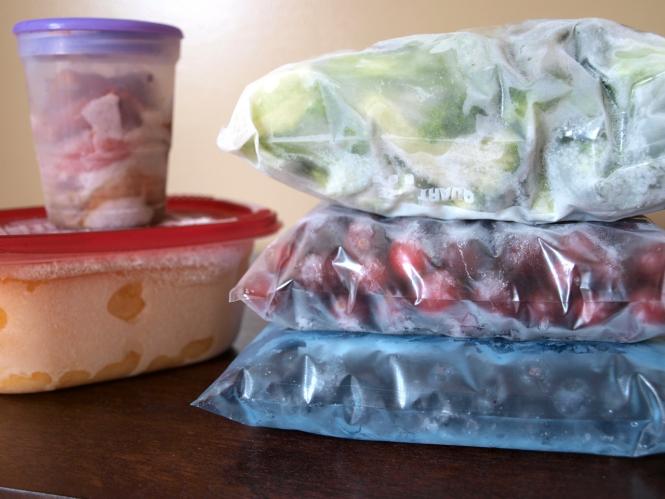
Over the last few summers, Minnesota has been walloped with some impressive heat waves. The stifling weather we get around here seems to always show up right when the produce peaks: tomatoes start coming in from the garden by the box instead of by the handful, green beans need to be picked every three days, and even the farmers’ market stalls start to spill over with bushel baskets of veggies and fruit.
When temperatures and humidity creep up into the unbearable range, there’s nothing worse than standing over a pot of boiling water and scalding hot jars for an afternoon of canning. That’s right, I’ll say it, even if canning is the trendiest thing to hit Pinterest since rainbow fruit kabobs: Canning in hot weather is a pain.
Instead, on those days when the nighttime temperature barely dips from oppressive to stifling, you’ll find me preserving the summer harvest in a much ‘cooler’ way: the freezer. Each year, I fill the chest freezer in our garage with enough fruit and vegetables to last us until the farmers’ markets open again. I start in early July with strawberries and blueberries, which I will toss in my morning cereal or eat as a quick frozen snack. In August and September, I freeze peas, green beans, broccoli, and sweet corn. These warm up for a quick dinner, or get tossed in a simmering pot of soup on a snowy Sunday afternoon. Finally, in late fall, I cook down and freeze the very last of the apples and pumpkins, not wanting them to go to waste when I can have a warm loaf of pumpkin bread or a pie in February.
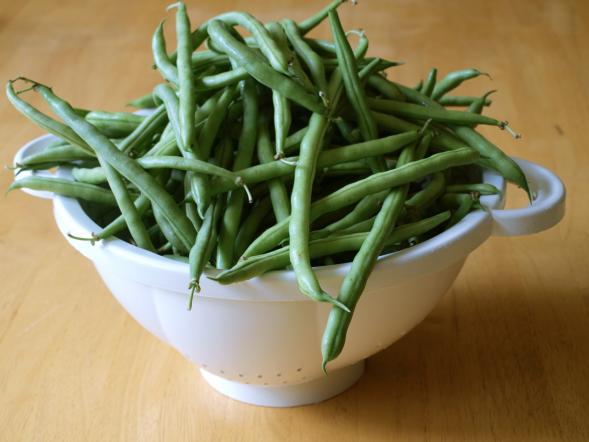 Green beans, fresh from the market
There have been a few bumps along the way. I once bought 5 bags of spinach at the farmers’ market thinking I could freeze enough for lasagnas all winter. When cooked down, the 5 bags ended up in a mushy gray-green blob that wasn’t even enough to fill one small bag. I also froze 50 quart bags of broccoli stems and pieces a few years ago — way more than any 2 person household could ever use; by March, I was sick of eating broccoli and protested louder than a toddler every time it appeared on my plate. Through a few seasons of trial and error, I now have a good understanding of what we will eat and the recipes I like the best using frozen foods.
Freezing fruit and vegetables may not be as trendy and nostalgic as canning, but many home preservers find that freezing is more manageable and produces the same or better results. If you can boil water and fill a zipper-close bag, you can freeze fruits and veggies to enjoy all year.
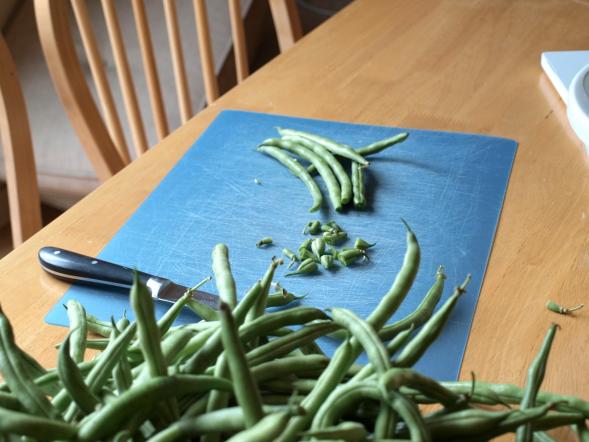 Prepping green beans
Why choose the freezer?
Although it won’t fill your pantry shelves with pretty mason jars, freezing summer produce does have advantages over canning and drying:
- It takes less time. For most fruit, you only need to wash it before packing it into freezer containers; vegetables need only very short cooking times before they can be frozen. Compare that to some canning recipes, that can take up to 90 minutes in boiling water, a major downside in hot weather. With freezing, there’s also no time spent sanitizing and prepping jars or waiting around for them to seal.
- Frozen fruits and veggies retain more nutrients. Any time food is heated, the nutrients and flavors start to diminish. Unlike other preserving methods, freezing locks in the most nutritional value of fruits and vegetables. It’s the next best thing to eating fresh produce.
- It’s closer to the real thing. Ever wonder what’s in that murky green canning jar in a relative’s pantry? Because it only needs low intensity heat (if any heat), freezing keeps food closest to its original color, shape, and flavor.
- More customization and more control. Canning recipes are carefully tested in laboratory settings to avoid dangerous bacteria and molds. This means your family’s famous chili recipe or that salsa you found online is not necessarily safe for home canning. But many of these same recipes can be safely stored in the freezer instead. Freezing can also be done in smaller batches — one or two freezer containers at a time rather than an epic bout of canning.
- There’s no fancy equipment needed. Other than a pot for boiling water, freezer-safe containers, and a freezer, there’s no other equipment needed. In comparison, canning equipment and dehydrators can be cumbersome to store, especially in small kitchens.
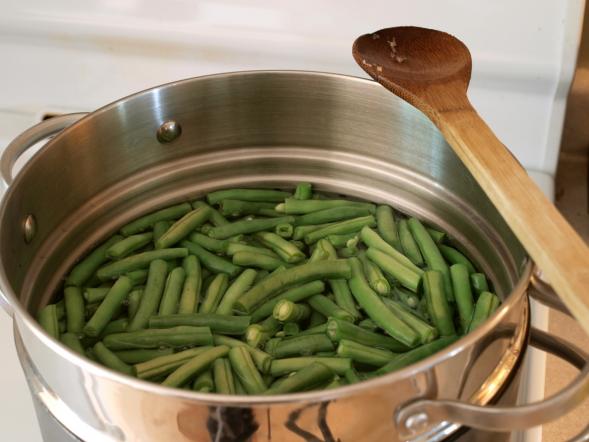 Blanching green beans
What you’ll need for freezing:
- Produce: If you’ve decided to give freezing a try this year, it’s best to have a few things prepared before you get started. First, select the highest-quality, most ripe produce for freezing. It’s not worth the time (and freezer space) to freeze anything less than the best. Plus, produce with blemishes, insect damage, or any over/under ripe spots can increase the risk of food safety issues. Ideally, produce should be frozen within 24 hours of harvest to preserve the highest nutrition.
- Packaging: Once you’ve harvested or purchased the produce, choose a packaging method. Freezer burn — spots where frozen food has lost moisture due to contact with air — is the biggest enemy in home freezing; choosing the right container can usually prevent or minimize it. Rigid plastic freezer containers work well season after season as long as they are clean and have tight fitting lids. Or look for plastic zipper-close bags that are labeled “freezer-safe” for one-time use.
- A Freezer: The last big item needed for freezing is, of course, a freezer! Although a refrigerator-freezer will work well in small kitchens, many avid home freezers find a chest or upright freezer is necessary for preserving a winter’s worth of food. Chest freezers can often be found used on Craigslist or through estate sales, but make sure the freezer maintains a temperature of 0˚ or lower at all times. Lastly, looking for a freezer that is energy efficient will reduce the cost of running an extra appliance for homes on a budget — the added dollars on an electricity bill is one of the major disadvantages of freezing over canning.
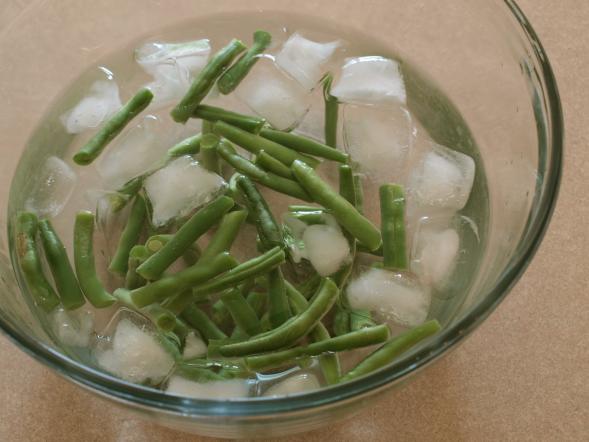 Flashing the blanched green beans in ice water
The basics of freezing fruits and vegetables:
There are two questions to ask when freezing any kind of food:
- What is the preparation?: Preparation includes washing, chopping, sorting, drying and all of the steps to get food ready for freezing. For example, most vegetables freeze well using a blanching method. Blanching involves dipping raw vegetables into a pot of boiling water or steam for a short amount of time; this process stops or slows enzymes from breaking down the nutrition in the vegetable. After boiling, the vegetables are immediately “flashed” in ice water to stop the cooking action. Perfectly blanched vegetables maintain a crunchy texture and the same bright color as the raw form.
- What is the pack?: Pack refers to the type of container or prep method to preserve the highest nutrition, flavor, and quality. For example, fruits are typically done in the “dry pack” or “syrup pack” method. Dry pack involves leaving the fruit whole or sliced, sprinkled with enough sugar to stop enzyme breakdown in the freezer. Syrup packs involve making a concentrated sugar solution and are often used for fruit thawed later for desserts or baking.
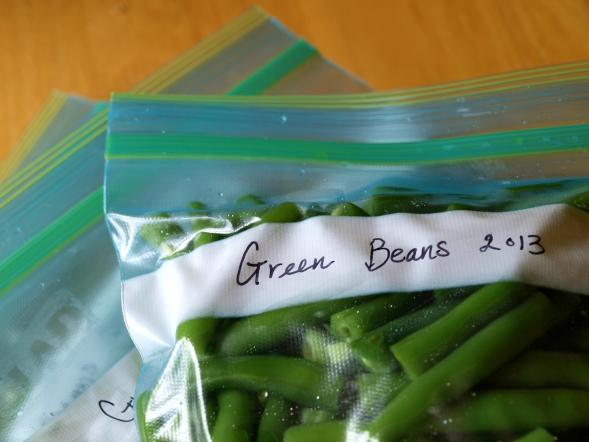 Green beans, ready for the freezer
Each individual fruit and vegetable has a “best-practice” preparation and pack method. The University of Minnesota Extension office has online and .pdf guides to preparing food for freezing, listed by each individual item.
Check out the resources below for more information on home freezing and ideas on how to make your freezer your new friend this harvest season:
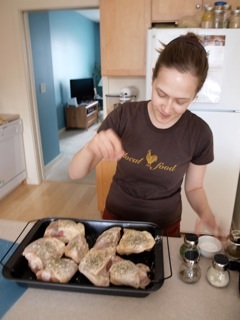
Amy Sippl is a frequent contributor to Simple, Good, and Tasty. She grew up in rural Wisconsin, but now calls St. Paul her home. She writes about her successes and struggles to eat and grow local food on her blog: Minnesota Locavore. She writes the Great Grains series for SGT; her last non-grain post for us was Co-op on a Budget: Let's Do Lunch.

